First you need to decide on the shape of the leather pads. They may be square (that's the easiest to cut) or triangular and rounded on the corners. This is my favourite, though I prefer elongated triangles personally, like those you can see in the pictures above. If you are not inspired to design your own shape, you can use the measurement from the picture below to trace them onto your leather.
Once we have chosen the style and colour, and also decided if it is going to be made of genuine leather (I buy mine from a remnant basket, and one such piece is usually more than enough) or faux leather (a cheaper option, but perhaps not as durable), we can copy the shape of the pads onto the wrong side of the leather. Faux leather works with pencil and colour pencils, but for genuine leather you will need to use a pen. Make sure you are ON THE WRONG side. You can also draw the pads directly on the piece of leather. I traced my triangles using the dressmaking copying paper and traced them the same way as I do with fabric.
I like to use best the space and use up all the leather, so I copy the pattern pieces very close to each other. This also saves time and work when cutting them out.
Once we are ready, and we have enough pieces (just make sure you have drawn a few extra pieces in case anything goes wrong while cutting), we can start with the rotary cutter. It is very useful as it cuts well through any leather (and also your skin...). To finish, we can use a smaller cutter or very sharp scissors. These will not work, though, with thick leather, but on the other hand, will be great for faux leather.
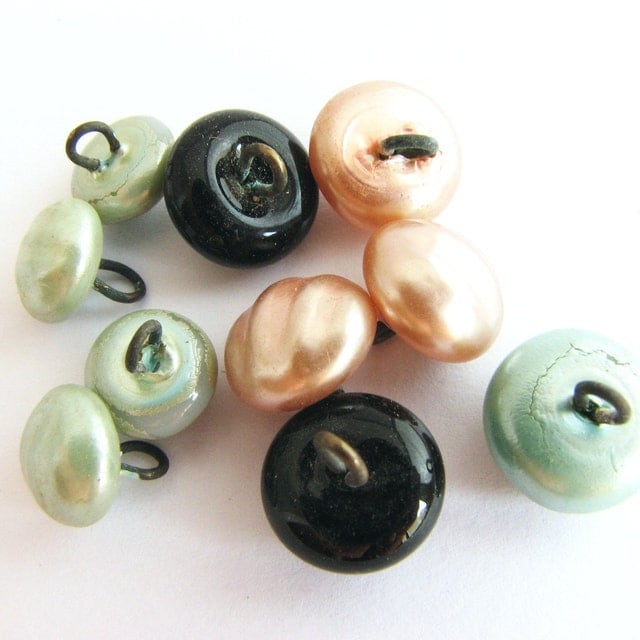
Now we will need the straps. It is really up to you how long they will be. Make sure you take into account the size of the toggles or buttons you are going to use, as sometimes extra length is needed. I will use 11 cm - 4 3/8" long straps. Cut your leather strap into even pieces. You can also make them from leather, for better matching. These should be wide enough to prove strong, but thin enough to go through the holes of your buttons! I used 4 mm - 3/16" wide straps.
 |
| I made the straps for the off-white colour closures and bought a leather thread of 3 mm wide for the black ones. |
The next step is to glue the straps to the pieces of leather. This is temporary, so you do not need to use a very strong glue. Glue gun is OK as long as you use just a tiny bit of it, as it may create bulk you do not want. If you are using super glue, make sure you apply just a bit, and towards the center of the pad, as it hardens and you still need to sew the closure to your coat. The best is of course a special glue for leather. Then I use pegs to make sure they are pressed well and long enough. Remember to thread the buttons BEFORE gluing, and also, make sure they are all facing the same way.
Make sure you have made one the same number of loops as you have buttons. Now we are ready to sew them onto the coat. My advice is to glue the closures temporarily to the wool - otherwise who know how they will end up. Here, machine-sewing is as good as hand-sewing. If your closures are made of genuine leather, it is advisable to make holes beforehand for hand stitching. If you are machine-sewing them, remember to set the stitch length to 3, for example, as to short stitch will make the closure prone to breaking. I use special needles for leather, which I do recommend.
Et voilà!


